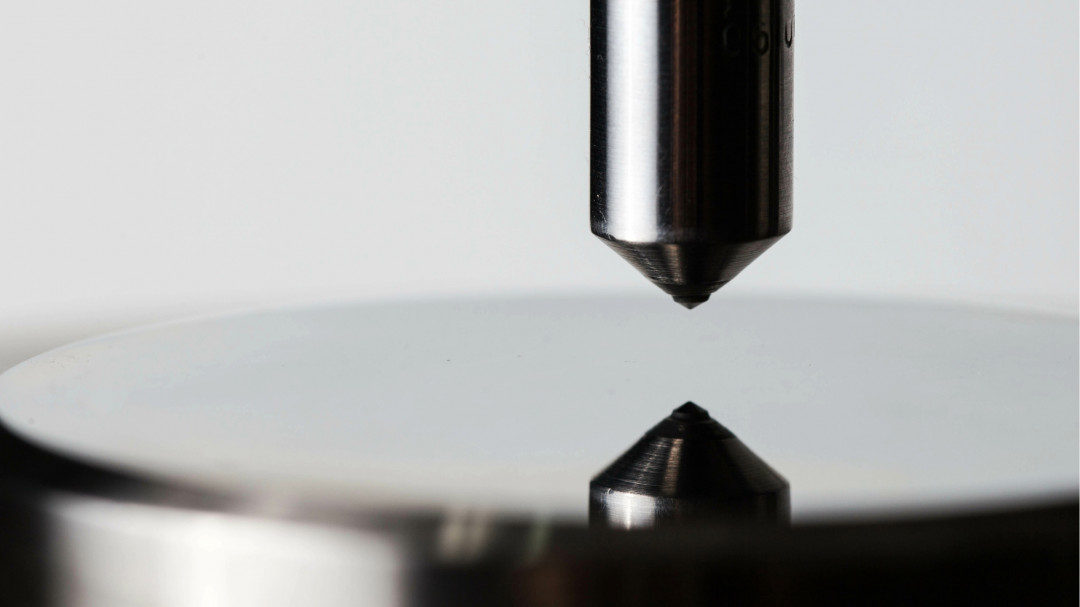
Scientists at the Koblenz University of Applied Sciences have developed a novel laser-optical method for the non-contact measurement and visualisation of the surface hardness of materials. The method is based on laser-induced breakdown spectroscopy (LIBS) and offers numerous advantages over conventional tactile hardness testing methods.
In contrast to established Brinell, Vickers or Rockwell hardness tests, the new method is purely optical and therefore contactless. It does not require any elaborate surface preparation and causes only minimal damage to the sample material. In addition, the good focusability of laser beams enables a significantly higher spatial resolution in the range of a few tens to hundreds of micrometres. ‘With our automated spatially resolved ‘hardness scanning method using LIBS’, hardness tests on steel components can be significantly simplified, accelerated and made more precise in the future,’ explains Prof. Dr. Georg Ankerhold, head of the “Laser Spectroscopy and Photonics” research group.
The development of the innovative laser-optical method for hardness measurement is part of a broader research strategy at the Koblenz University of Applied Sciences. The work was carried out in the ‘Laser Spectroscopy and Photonics’ research group under the direction of Prof. Dr. Georg Ankerhold and Prof. Dr. Peter Kohns. This group is integrated into the university's own cross-location research focus ‘Analytical Imaging’. To validate the performance of the new method, comparative measurements were carried out using established hardness testing methods. These were carried out in Prof. Dr. Robert Pandorf's materials testing laboratory at the Koblenz campus of the university. The interdisciplinary and cross-location collaboration thus enabled a comprehensive evaluation of laser-optical hardness measurement in comparison to conventional methods. This cooperation underlines the holistic research approach of the Koblenz University of Applied Sciences, in which different departments and locations work closely together to develop and validate innovative technologies. The integration into the ‘Analytical Imaging’ research focus also illustrates the potential of the method for imaging applications in material characterisation.
One outstanding feature of the new method is the spatially resolved, imaging analysis of individual samples with different hardness ranges. ‘We have succeeded in laser-optically displaying the previously mechanically detected hardness profile on the surface of a heat-treated piece of steel,’ reports doctoral student Retterath. The differentiation between soft and hard areas is achieved by changes in the spectrum of the emitted plasma light.
The process enables a fast and efficient imaging inspection of partially hardened steel products such as gear wheels. Hardening transitions, partially hardened areas or unwanted ‘soft spots’ in steel samples can not only be visualised, but also precisely localised. This opens up new possibilities for less damaging quality control and inspection of steel components with regard to their hardness, in order to assess the safety, reliability and durability of the material.
The research results were presented in summer 2024 at the ‘International Meeting on Laser-Induced Breakdown Spectroscopy’ (LIBS 2024) in Argentina and have recently been published in the internationally renowned journal ‘Spectrochimica Acta’.
In the future, the imaging technique will be extended to other alloys and materials. ‘Particularly for brittle materials, our method could offer some special advantages due to its purely optical functioning and the minimal influence on the material,’ says Prof. Dr. Ankerhold. The research group is already planning follow-up projects to further optimise the methodology and apply it to materials such as ceramics and biological samples.

