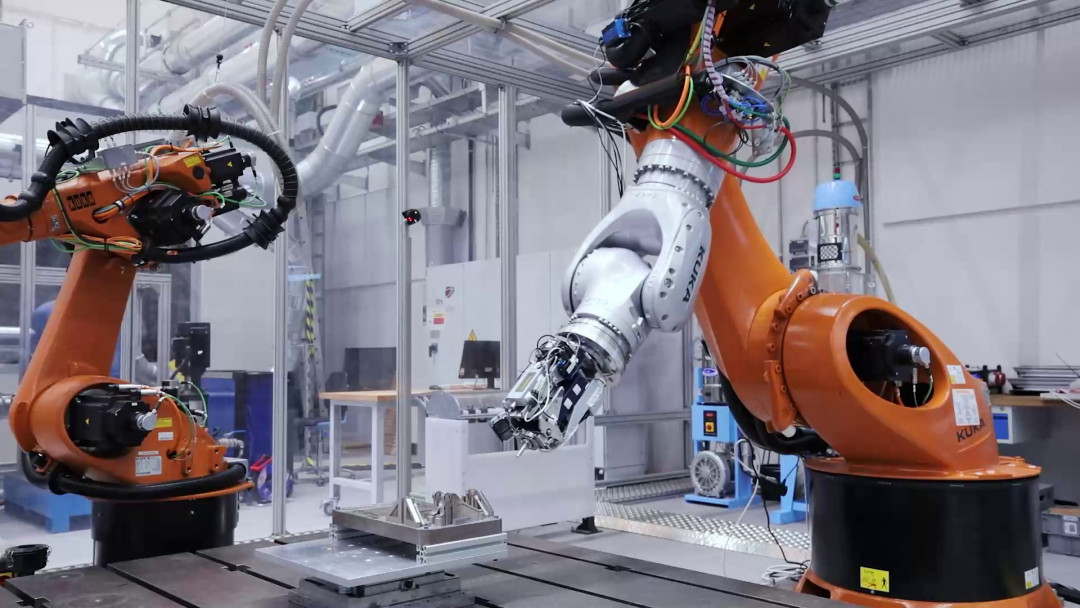
3D printing has great potential in manufacturing. For example, it can be used to produce bionic lightweight components for aviation that can significantly reduce CO2 emissions. In the ‘Enabl3D’ project, researchers are now developing a sufficient quality assurance system.
Components for aviation from the 3D printer? For these and other highly safety-critical parts, inline quality assurance is essential. After all, the components must be closely inspected before they are installed in passenger and cargo aircraft. The problem is that printed parts of the same design can show slight differences, so the results of the material sample tests cannot be transferred 100% to other components. The destructive tests that have been used up to now are not an alternative because of the high resource and energy requirements. The same applies to elaborate technologies such as X-rays.
In the future, every single component from the 3D printer could be tested non-destructively: with a test method that was tested by Imprintec GmbH in collaboration with the Fraunhofer Research Institution for Additive Manufacturing Technologies IAPT and VisiConsult GmbH in the ‘Enabl3D’ project. The quality characteristics are recorded using penetration testing, process monitoring and micro-computed tomography – on the finished component, quickly and reliably. In the sub-project ‘Integration of Hardness Measurement Technology’, the team also brought the experts from the Fraunhofer Institute for Manufacturing Engineering and Automation IPA on board. The aim was to combine the measuring head with a 6-axis industrial robot for an automated application. ‘Together with Imprintec GmbH, we carried out initial trials and feasibility studies to enable the measuring head to be integrated into series production via the robot,’ explains Lukas Werdin, a scientist at Fraunhofer IPA. The challenge: while the measuring system is fixed to a table in the test laboratory, inaccuracies can occur due to the robot arm. The researchers therefore investigated whether all the desired measuring points on the component could be reached by the robot arm and with what degree of accuracy the measurements could be repeated. ‘Our main focus was on the positionability, the positioning accuracy and the quality of the measurements,’ Werdin specifies.
The result was positive across the board. All the desired measuring points could be accessed and examined by the robot, and the quality of the measurements was also very good. ‘The deviation was in the single-digit percentage range – an excellent result for a first application in conjunction with a robot,’ says Werdin.

